Join me as I Build a 3d Printed Prosthetic Arm.
Project : C.L.A.W
The concept of prosthetic limbs inspires awe and optimism, demonstrating the amazing convergence of technology and mankind. These amazing tools help people regain their confidence and independence while also restoring functionality. Every new development in prosthetic design improves comfort, dexterity, and mobility, enabling users to participate more completely in daily life. Modern materials and technology enable personalised solutions that create new avenues for expression and creativity. In the end, the appeal of prosthetic arms stems from their capacity to improve quality of life, demonstrating the human spirit's tenacity and the inventiveness needed to overcome obstacles.


Cybernetic Limb with Advanced Workability (Previously Project: Tempest)
In this 7-day project, I researched humanoid robotic arms from companies like INMOOV and GENERATIONS ROBOTS. I explored their operations, revealing that a robotic hand typically has around 6 motors, one for each finger and one for wrist rotation. Each finger uses servo motor to pull a wire, tensioning the finger. Inmoov's robotic arm perfectly demonstrates this concept.
Materials
During my research I decided the materials must have certain properties which included having to be sturdy, 3D printed, and able to bear a lot of pressure when bent or struck. The four primary plastics I looked into were:
Acrylonitrile butadiene styrene, or ABS, a robust material overall but when it is 3D printed, it releases toxic vapours.
Similar to ABS, PETG (polyethylene terephthalate glycol) has a high impact strength and is temperature resistant; however, some PETG brands are not UV resistant, therefore with time, they may discolour.
Polylactic acid, or PLA, is a stiff, easily printable material with little warping, although it has a low temperature and impact resistance.
PLA Plus (ESUN) is an upgraded form of regular PLA. It is more durable and stronger, making it difficult to break.
Getting the 3d models
Day 1 - 7 : Research
Owing to my lack of experience with 3D modelling, I downloaded and modified Inmoov's robot hand and forearm model to fit this project's needs. This required some time because to the intricacy and complexity of the Inmoov models. Additionally, I needed to confirm that there was still room inside for all of the electronics.
Day 8 - 14 :
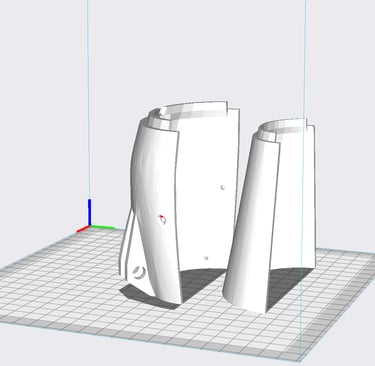
Slicing the 3d models
With up to 48 models to slice, it took a long time to slice these 3D models. Initially, I assigned this assignment to Ultimaker Cura, but after experiencing numerous problems with their software, I switched to the good ol' faithful, Creality slicer, and everything ran without a hitch.

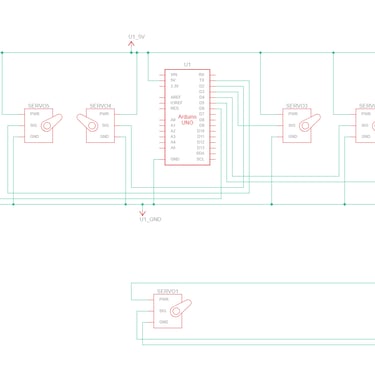
Simulating Motor Movements
I used Autodesk's TINKERCAD circuit building tool to test and learn how to program the arm. It lets you virtually build a circuit and then program it in the same language as the micro controller that is being used, for example, an Arduino board would be programmed in C++ (cpp) or a Raspberry Pi would be programmed in Python.
The code can be found here
3D Printing the parts
After a few weeks of saving money, i bought a reel of Esun PLA+ which is stronger than regular PLA with the added benefit of impact and temperature resistance. After around 2 weeks of constant 3d printing and about 15 fails I were able to fabricate all the parts needed
Day 15 - 21 :
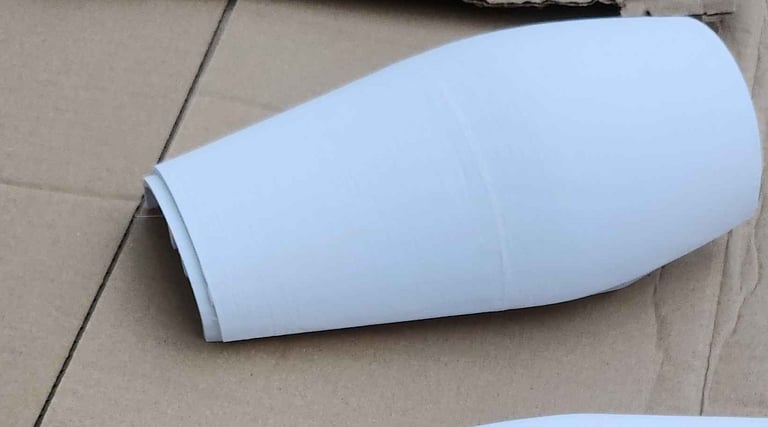
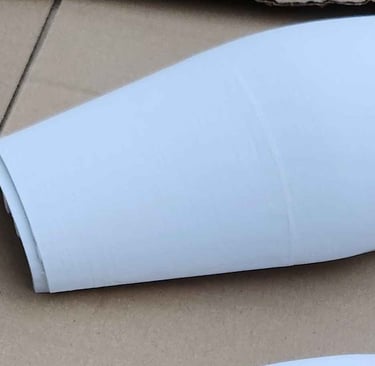
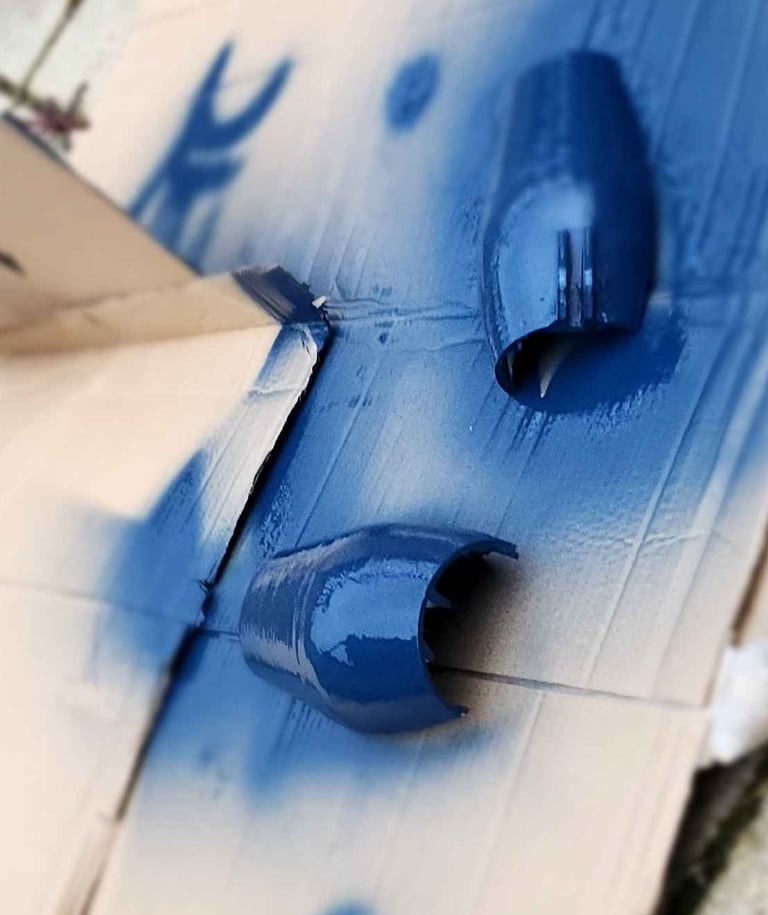
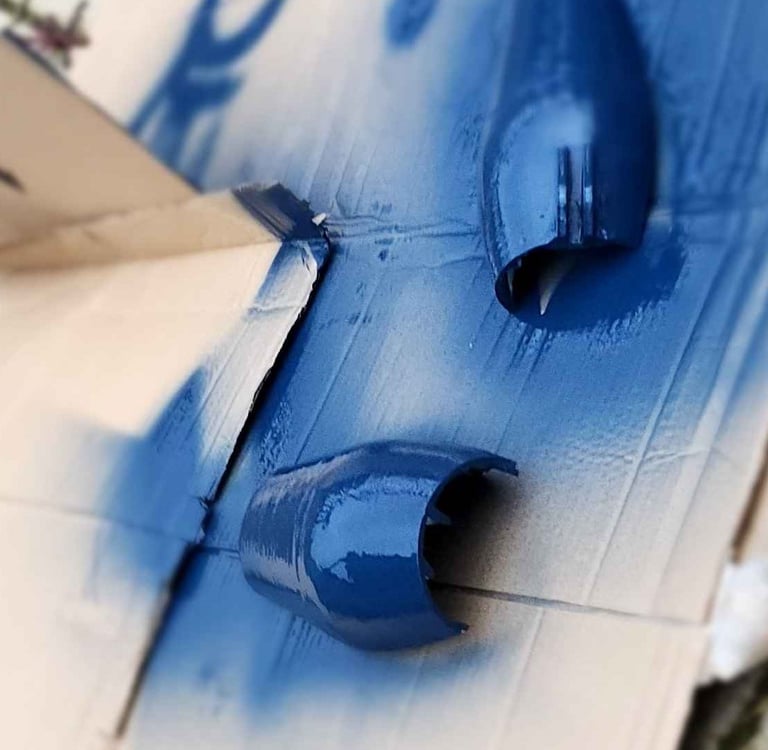
Building the outer shell
Now, I won't lie. Putting the outer shell together was the second most enjoyable aspect of the entire project. I started by taking the 3D printed pieces and putting epoxy, a two-component glue, on the inner layer, holding them together for around half an hour. For a smoother finish, I was able to sand each part with 120 grit sand paper and use wood filler, after each section dried I sanded it again.After finishing, I added three coats of satin blue paint that included priming. This resulted in a smooth, matte finish that gives the arm a more futuristic appearance.
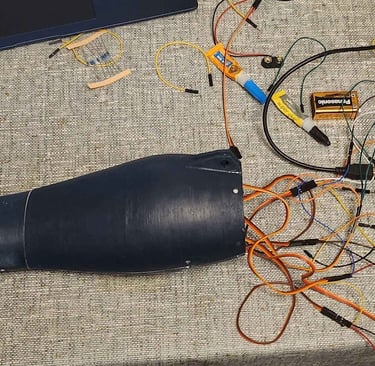
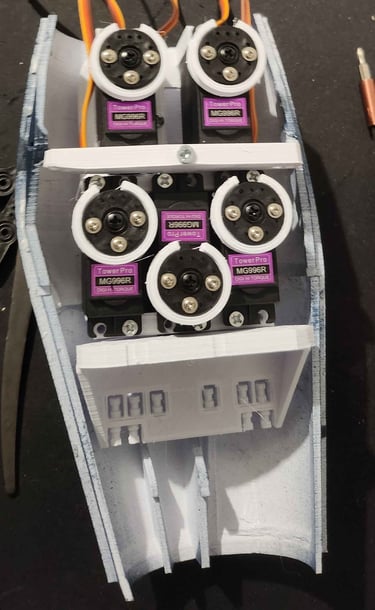
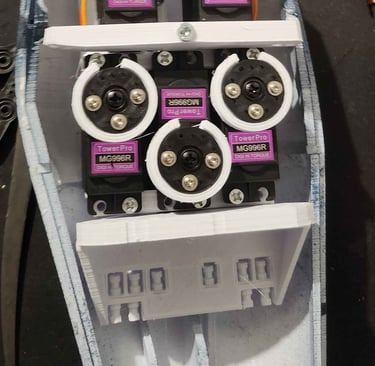
Building the Internals:
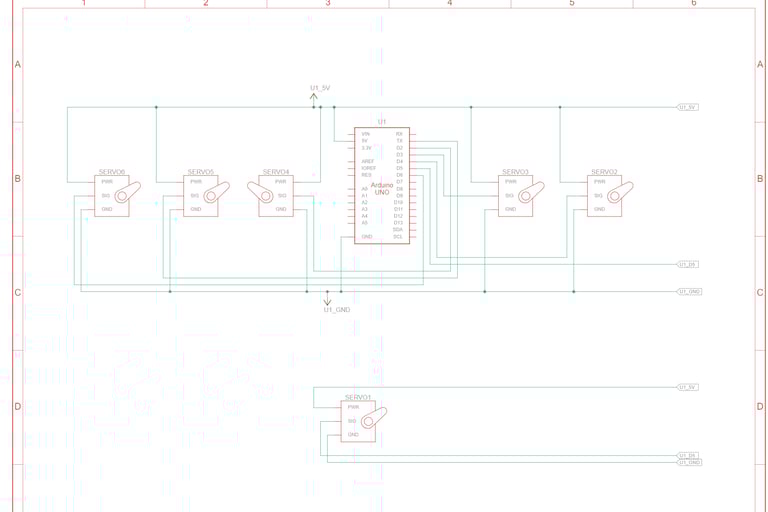
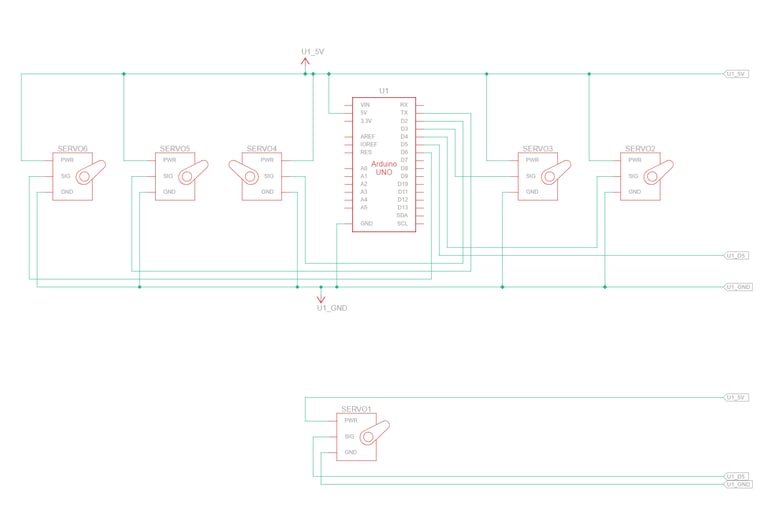
After constructing the outside shell, I started constructing and installing the internal servo motors and wiring. This took a lot of time because I had to make sure that nothing was loose and connect them to the right pins using my Arduino (C++) code.
After finishing this, I fitted each pulley to the servos, adjusted all of the motors to 90 degrees, and then constructed the fingers.
Once completed, I connected each finger to a pulley using two cables: one to cause it to contract and one to cause it to return to its starting position.
Programming the Arm:
Although the code was straightforward, the functions and providing a corresponding input were difficult, and it was nearly impossible to calibrate the code to the arm. Programming the arm was relatively easy because all you had to do was turn the servos to a specific position to open or close the arm. Once I had set these functions i created a gradual open and close to test each motor was working correctly.